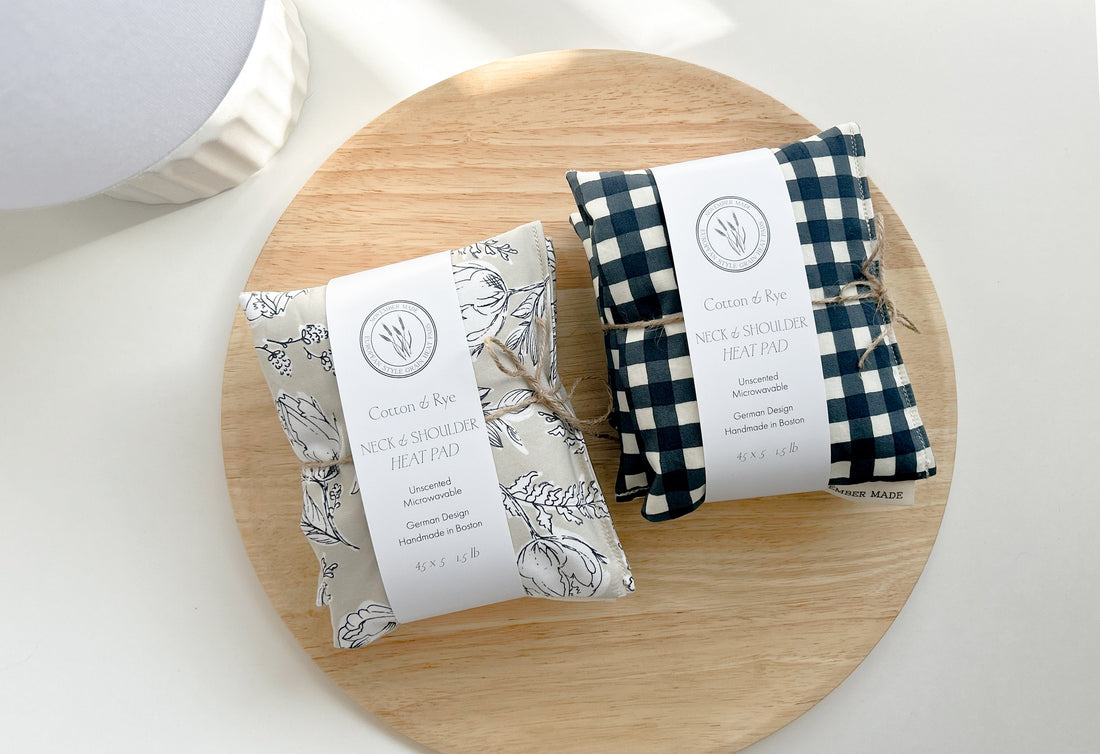
How to take your own professional product pictures
Share
Supplies
Your phone camera
Adobe Lightroom OR directly edit on your phone
Window height table or boxes
Camera Settings (iPhone)
“Photo setting” - (NOT Portrait setting)
1.2x Zoom
Environment
Natural light from a south-east facing window between 10am - noon. If your window faces a different way, test lighting and see what works best.
Editing steps
How much you adjust these will slightly differ every time, because your light is different every time.
- Import into Lightroom or edit directly on your phone
- Crop so that your product is centered
- Exposure: UP
- Contrast: Slightly UP
- Highlights: DOWN
- Shadows: DOWN
- Whites: DOWN
- Blacks: DOWN
- Temp: Slightly decrease or increase depending on how much natural light has changed your actual product’s color - remember, the goal is not to make your products look different but to show them in their best, most accurate light =)
Other thoughts
Photograph all products on the same day to have a cohesive image collection (because your light will differ every time making your products look slightly different).
The best way to get a great image is to make sure the RAW image (the unedited image) is as perfect as possible. Paying attention to good lighting and angles while taking your photos will save you time later =)
Save your preset in Lightroom to save you time next time. This way your images always have the same starting point, which also helps with overall cohesiveness for your brand!
